[Video] Custom Built MST CFX & TRC Kahn D90 Defender
If you want to build a TRC D90 Defender but don’t want to use the conventional chassis here I will talk you through how you can mount it on a 1/10 MST CFX and what parts I used.
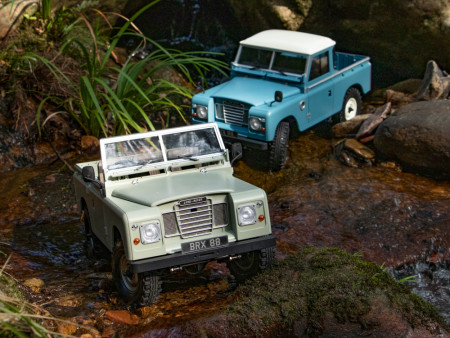
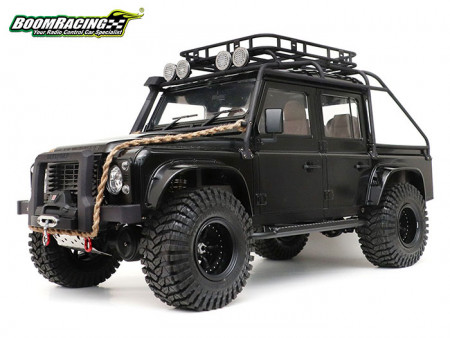
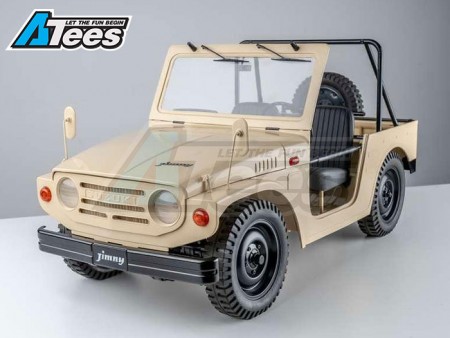
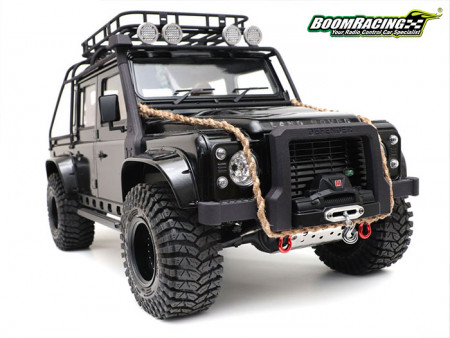
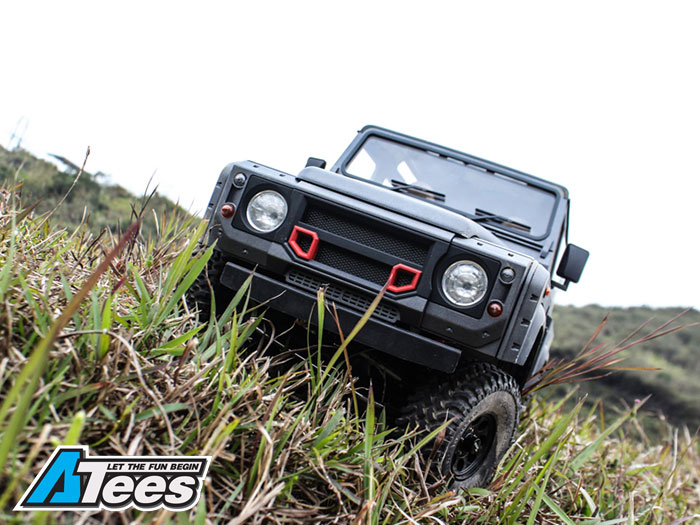
First I painted and assembled the Team Raffee Co. D90 Defender body also using the Kahn kit that is available for the TRC Defender bodies. Then moved along and build the 1/10 MST CFX chassis kit and fitted the electronics. Once both the parts where fully assembled I put the TRC D90 body on the MST CFX to see what I needed to do to get these two to fit together . When the body was sitting on the chassis I can see that the rear shock hoops where hitting the body preventing it from going down. So I knew I had to take them off and replace them with something ells to be able to remount the shocks to the chassis. To do that I used Boom Racing Rugged Gear Aluminum Shock Ring Hoop and a spacer. I also changed the shocks to some 70mm Team Raffee Co. Aluminum Adjustable Piggyback Shocks. I did not used the piggyback system just sealed up the hole with a little bit of Loctite and a screw. Also I removed the original battery tray as it was preventing me from fitting the battery in properly now the body sits closer to the chassis I was surprised how well they fitted together.
Now the body sits lower on the chassis with the gearbox sitting nicely in the transmission tunnel of the body I can think of how to attach the body to the chassis. With a bit of thinking I figured out that I can use some of the Killerbody LC70 body mounts but I had to use two different sets for it to fit right. For the front mount I used the rear mount from the normal SCX10 mounting kit and for the rear mount I used the front mount out of the SCX10 lowest mounting kit. For the rear I had to drill two little holes into the bottom of the body to screw the mount onto and on the front I managed to attach it behind the grill where there are two holes.
Now the body is attached to the chassis I can see that the wheelbase is not quite right. So to solve this problem I had to extend the front links a little bit for it to sit right. I did that by using Boom Racing Aluminum Links as they are available in many different lengths and color to choose from. The front upper link I used a 5x45mm long links and the lower links I used a 5x60mm long links with no spacers. For the rear you don’t have to change them but I did it anyway so it looks better as a complete set. The lengths I used for the rear upper links are 5x60mm long links and the lower links are 5x70mm long links with 2 spacers on each link.
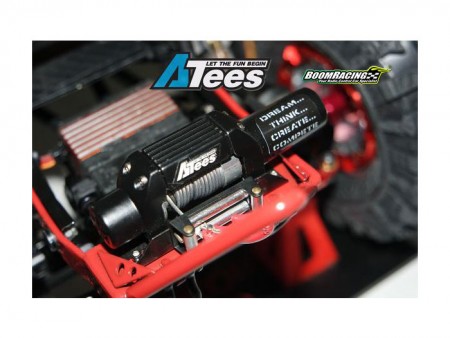
After I done all the links I decided to have a look at the steering. First I decided to move the servo off the axle and attached it where the winch mount is as it is the perfect size to fit the servo in it. I also want to change the steering links to aluminum links as this will help reduce steering flex and match the other links I have used. I did that by using a 5x100mm long link but I had to bend each end over a little bit matching the plastic one I removed. If you are going to do this I will give you a little tip to screw the grub screw in first before you bend it so it doesn’t collapse and deform on you when you go to bend it. For the shorter link that is attached to the servo I used a 5x30mm long link and changed the servo horn to the new short low profile Boom Racing servo horn.
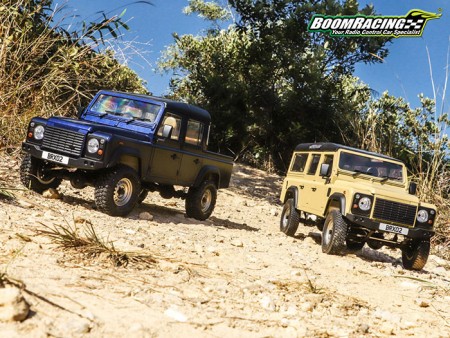
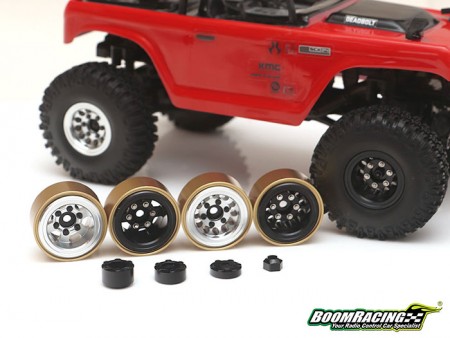
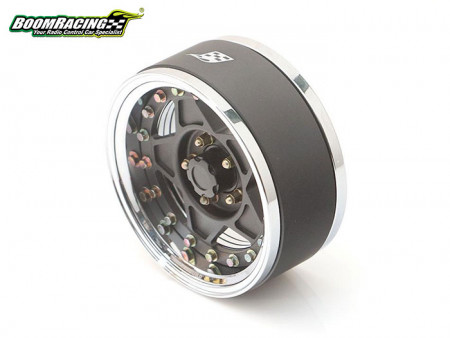
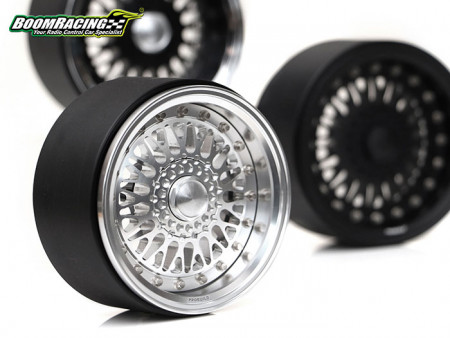
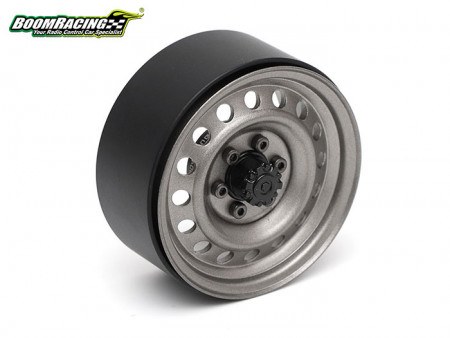
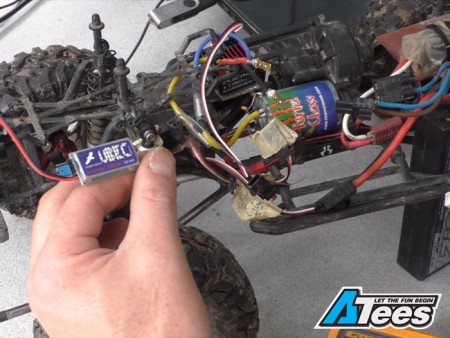
Once I got everything fitting well and in the right places I went ahead and installed a lights kit and a sound system to the body. Just to let everyone know if you are going to install allot of electronics, be warned space is tight I just managed to squeeze everything I needed in there. For the wheels I used the new Boom Racing 1.55 Terra wheels with some Boom Racing 8mm hex wideners to get the right track width the parts I have used for this build I will list below and everything is available at www.ATees.com.
Parts List:
- Team Raffee Co. D90 Defender = TRC/302223
- Khan Fenders = TRC/302229B
- Khan Front Grill & Light Assembly = TRC/302228F
- Team Raffee Co. Rear Bumper & Wheel Carrier = BRQ90323
- Killerbody LED Unit & Control Box = KB/48467 & KB/48456 & KB/48463
- Sense Hobby ESS ONE+ Sound System = Sense/ESS-ONE+
- MST 1/10 CFX Chassis Kit + Hobbywing WP1080 ESC = MST/532148COMBO
- Snow Panther Motor = SN/TM-6035
- CYS Metal Gear Servo = CYS-S0150
- Boom Racing 1.55 Terra Beadlock wheels = BRW780906BK
- Boom Racing Hex Widener = BRW780900F-8MMBK
- Team Raffee Co. 70mm Shocks = BRQ90319-70MMR
- Boom Racing Shock Hoop = BRQ90305R
- Killerbody Body Mounts = KB/48632 & KB/48633
- Boom Racing Low Profile Servo Horn = BR955014GM
- Boom Racing Front 5x45mm Upper Link = BRQL5045GM
- Boom Racing Front 5x60mm Lower Link = BRQL5060GM
- Boom Racing Rear 5x60mm Upper Link = BRQL5060GM
- Boom Racing Rear 5x70mm Lower Link = BRQL5070GM
- Steering Links 5x30mm & 5x100mm Links = BRQL5030GM & BRQL5100GM


ByRicky M
Tags :Team Raffee Co, Land Rover, Defender, D90, MST, CFX
Share:http://asiate.es/read?l=KT8U_F7DACJ