Armattan F1-6 Build Guide And Review
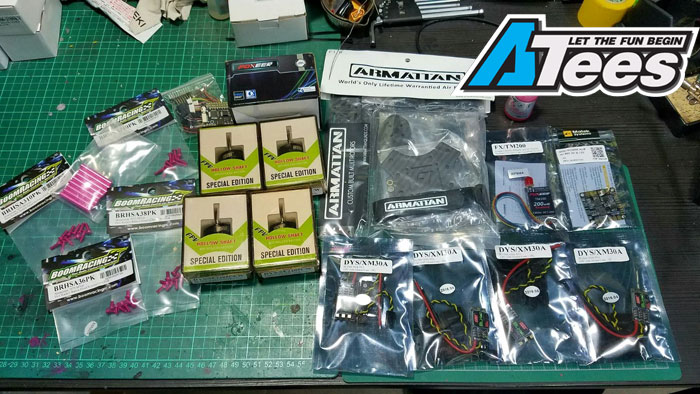
So here's the breakdown of the parts I used:
- Armattan F1-6 Quadcopter Frame With IPDB & Mobius Plate
- DYS SE2205 2300KV CW/CCW
- DYS XM30A BLHeli Mini 30A ESC
- Matek Mini PDB W/ 5V & 12V BEC
- Aluminum 7075 M3x6 Colored Hex Socket Button Head Screws (10)
- Foxeer XAT600M PAL 600TVL FPV Camera
- Foxeer TM200 5.8GHz 200Mw 40CH VTX
- SPRacing F3 Flight Controller (Coming Soon)
- FrSky XSR 2.4GHZ 16CH Receiver
So here's the basic breakdown of what I used. Let's take it a step at a time.
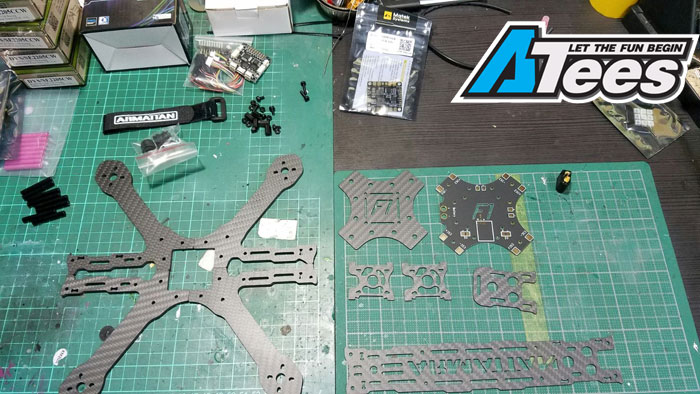
Here are all the parts of the frame laid out. As you can see, this frame isn't like your typical ones. The 4 arms on the left side of the picture actually consist of the main body plate, all of which are 4mm plates. It's an intriguing design that looks very unorthodox, but it's pretty hefty once built up. The rest of the frame consists of the 1.5mm top plate and the 1.5mm bottom center plate. The F1-6 that we have also comes with the iPDB, which works well, but we decided to use the Matek PDB instead, just to keep things fresh. It also comes with a Mobius plate on top and the two side plates to mount your FPV camera.
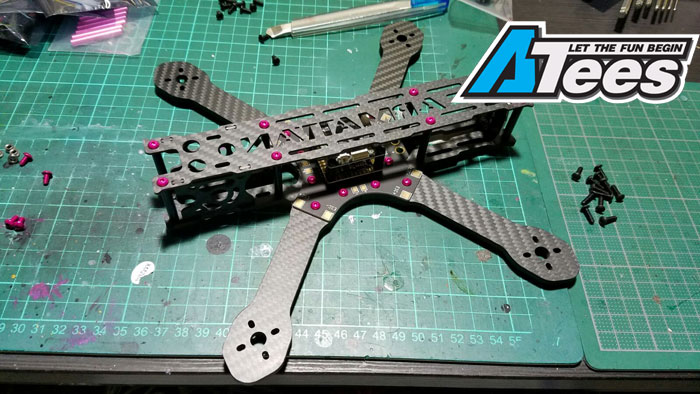
Here is the mock-up frame built up with our Colored Aluminum Screws installed. Looks great and feels very sturdy.

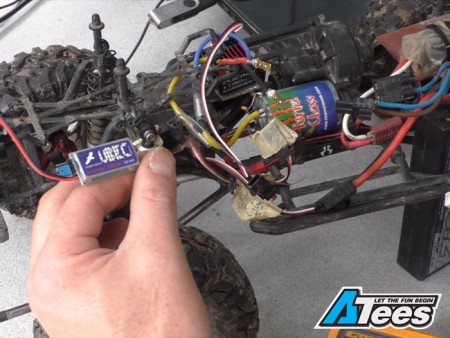
So for this build, we're using DYS's new XM30A ESCs. As you can see, they make things very handy by having three solder pads already ready for you to connect your motors to. All you need to do is tin it first, as shown in this picture, shorten your motor wires to the length you want, and solder them on! This is what it looks like once all 4 motors and ESCs are soldered together.
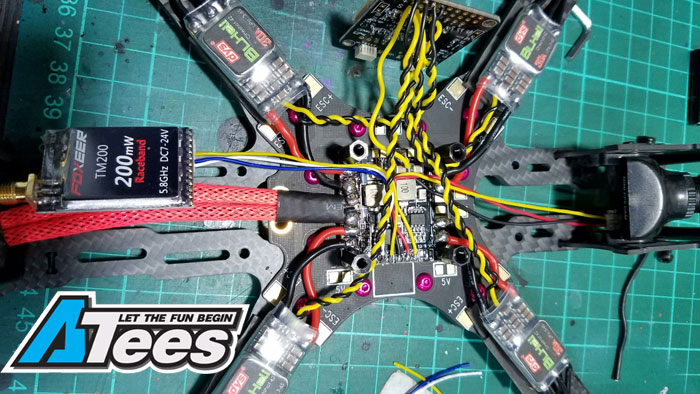
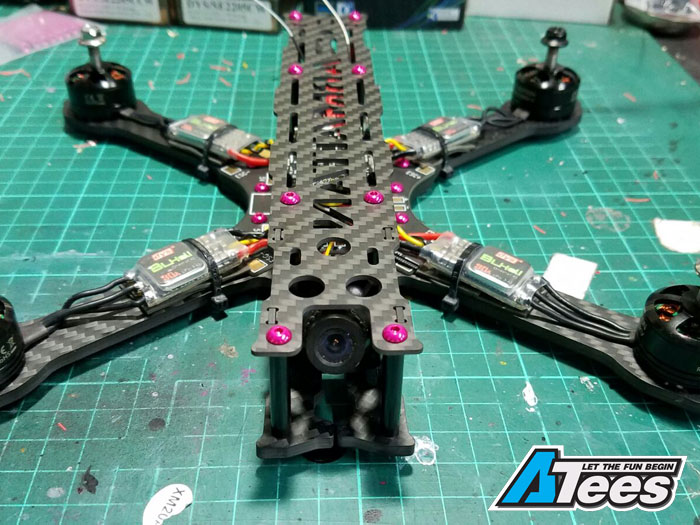
Here's a picture of everything soldered together. The ESCs soldered onto the ESC pads. Our Foxeer VTX and Camera soldered on and installed, and all the signal wires from the ESCs direct soldered onto the flight controller.
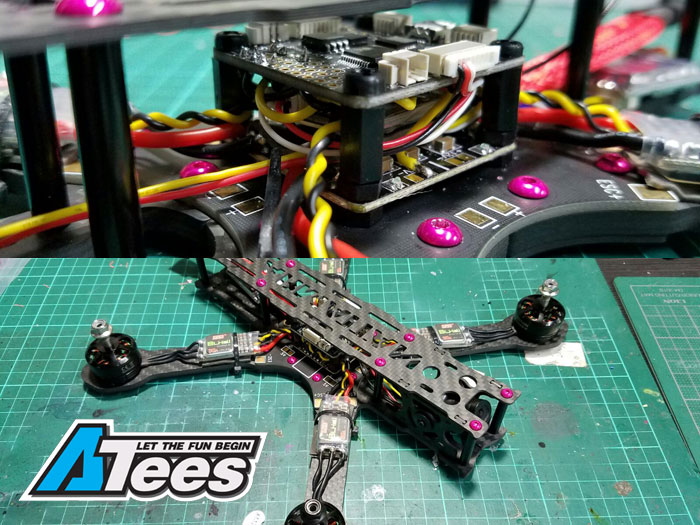
Final product. Lookin' nice and clean. Everything installed, powered up and works!
Next blog will be the flight test! Make sure you check out our store for more products and goodies. If you wanna buy this frame, click the Shop Now button below to pick up your very own Armattan frame.
ByChris Chu
Tags :Armattan Quads, multicopter, quadcopter, multirotor, F1-6, build
Share:http://asiate.es/read?l=W8X_AB6DB6J