Shendrones Krieger Build Guide & Tutorial
So first off, let me list out all of the parts I used for this build. It's a good mix of parts from our site, and will provide the strength and speed needed to get your Krieger racing in no time.
Parts Used:
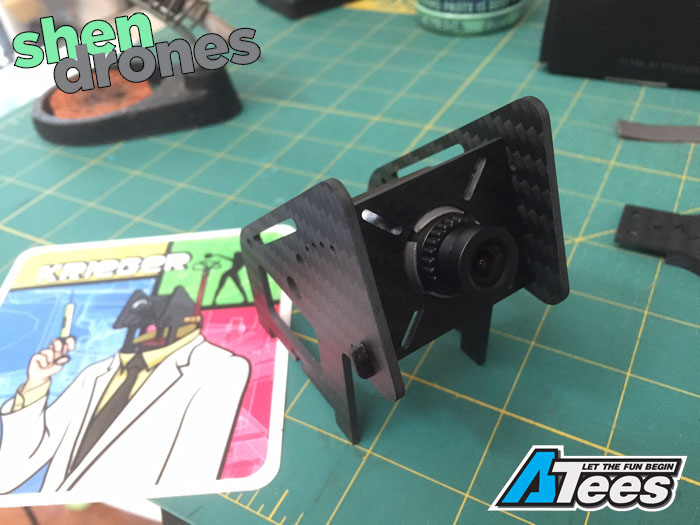
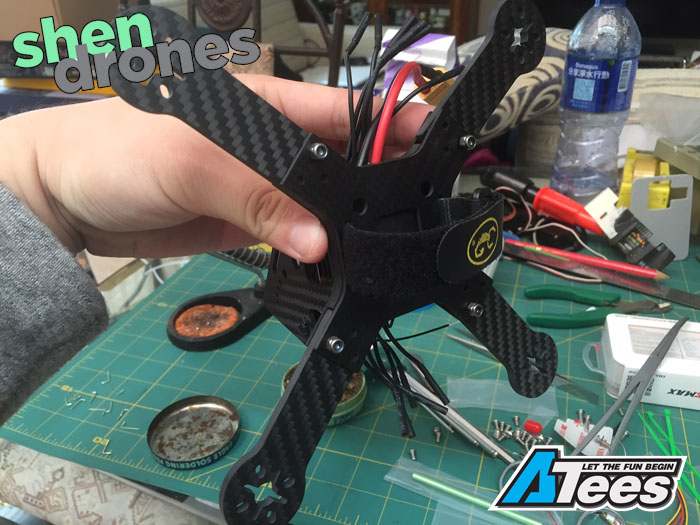
So let's get started with the build! For the Krieger build, the first thing to do is to build the center pod! Ideally, you would mount your FPV Cam to the cam plate first, or else it may become a bit difficult to take it apart and place the cam in later on. Using the Foxeer XAT600M cam, you'll have to find a way to get it to stick to your camera plate. You can use hot glue or 3M tape around the cam, and just place it inside. If you're using the 3M tape, make sure you apply some pressure to make sure the camera is secure.
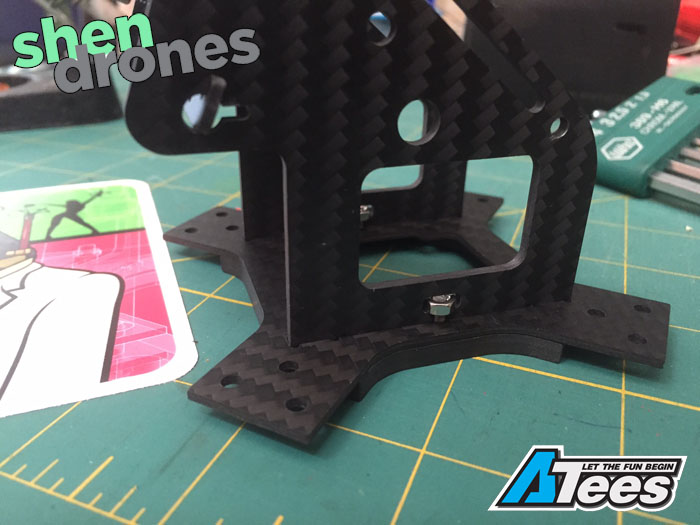
To get the pod mounted onto the bottom plate, place a nut into the little groove at the bottom of your pod. Hold it in place, fit the bottom plate onto the pod, and use one of the screws available to lock the nut in place. Do this for both sides to get it nice and snug.
After mounting the pod onto the bottom plate, I placed the TBS PowerCube into place. At the bottom of the PowerCube is a layer of 3M tape, and 2 plus screws. Place the PowerCube down on the plate and lock in the screws to the unit from the bottom of the Krieger's bottom plate. It should look a little something like this. (NOTE: The USB Port on the Colibri FC on the PowerCube is facing the pod's wall. What I did was dremel out an opening on the side to access the USB port.)

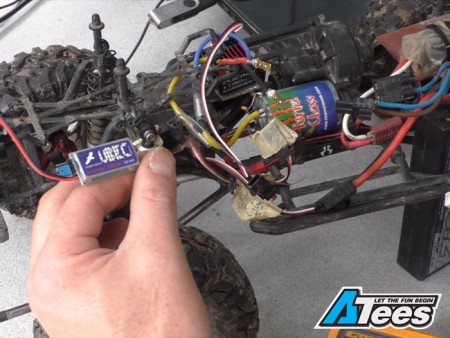
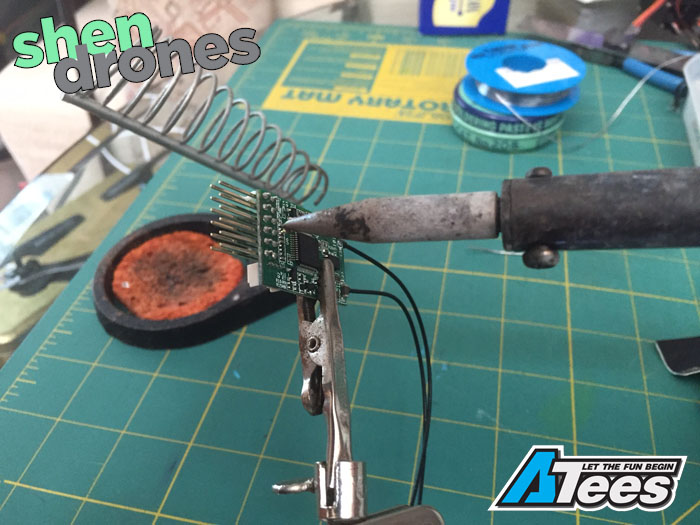
I used the D4R-II for this build. At the bottom of the Krieger plate, there's a little slot built-in to place your receiver. However, it won't fit if your receiver has pins. What I did was remove the pins by de-soldering them, and directly soldered my signal wire from the PowerCube's FC to the receiver! (NOTE: If you do this, you must remember to solder a connection between Signals 3 and 4. This is to activate the PPM signal for the D4R-II)
After placing the receiver into the bottom, I lock in the base plate by locking the screws and nuts with the arm. Make sure you place the velcro strap in the aligned slots before you lock the plate in.
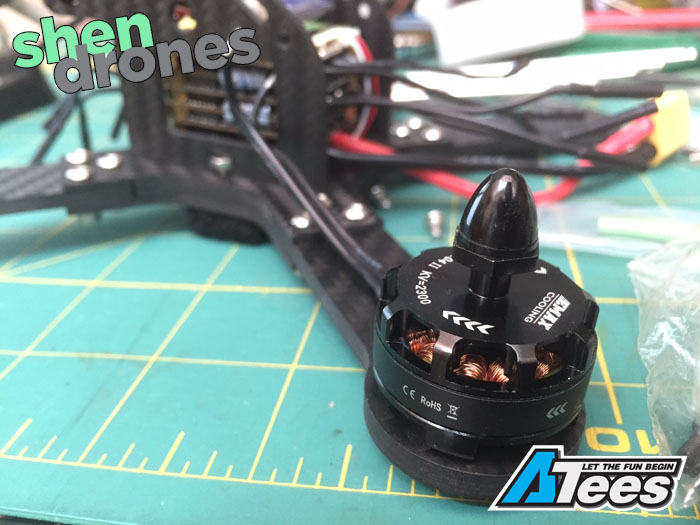
After fitting the rest of the screws and locknuts onto the arms to lock it in place, I put my motors onto the quad! I was using Emax's MT2204 Cooling Series motors, though after flying it, I might consider swapping it to the RS2205 motors. Do this to get an idea of how short you should cut your wires.
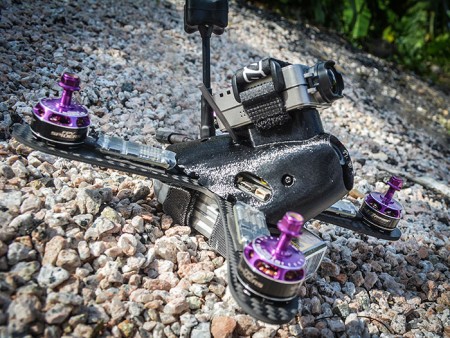
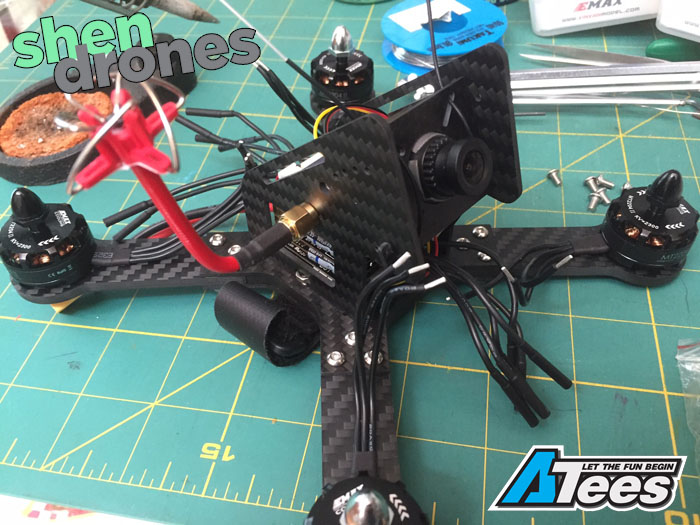
This is what the Krieger looks like with all the motors on and the wires looking crazy. As you can see, my vTx antenna is mounted onto the sideplate. What I did (and what Shendrones designed it for) was to place your vTx RP-SMA connector into that hole. Best way to keep it secure is to place a rubber O-ring on the connector before you place it through the hole so that it stays tight. This also gives you easy access to the buttons on the Foxeer TM25, or dip-switches if you use other brands.
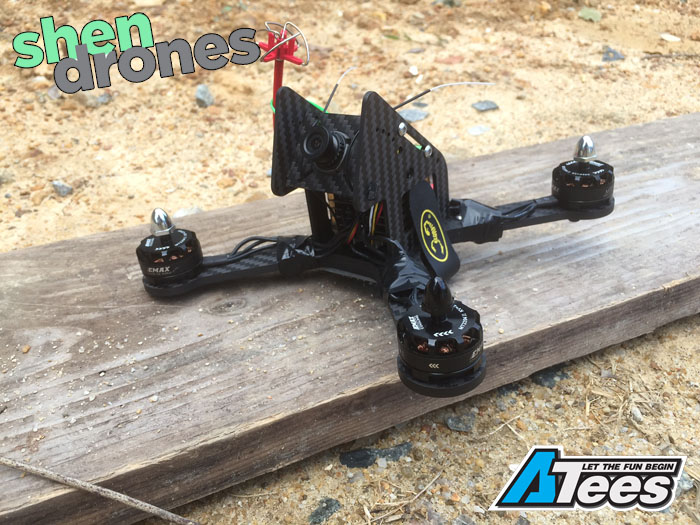
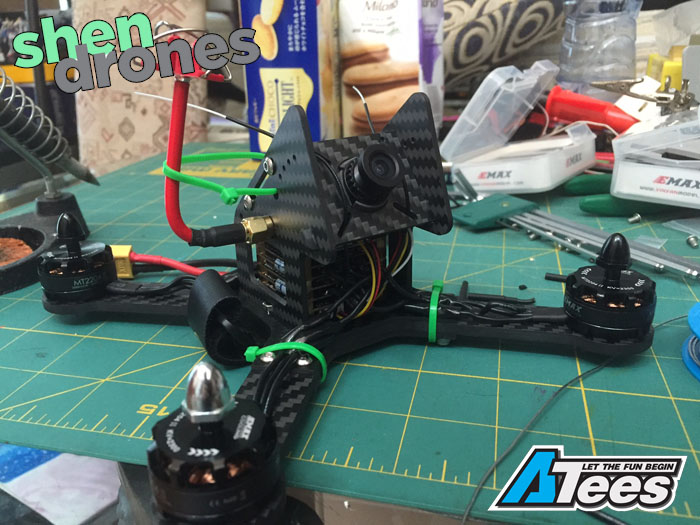
Here's the finished product! As you can see, the wires were cut (though not perfectly), and held down by zip-ties. I also placed a zip-tie around the antenna and the pod to hold it upright so it doesn't slip into the props.
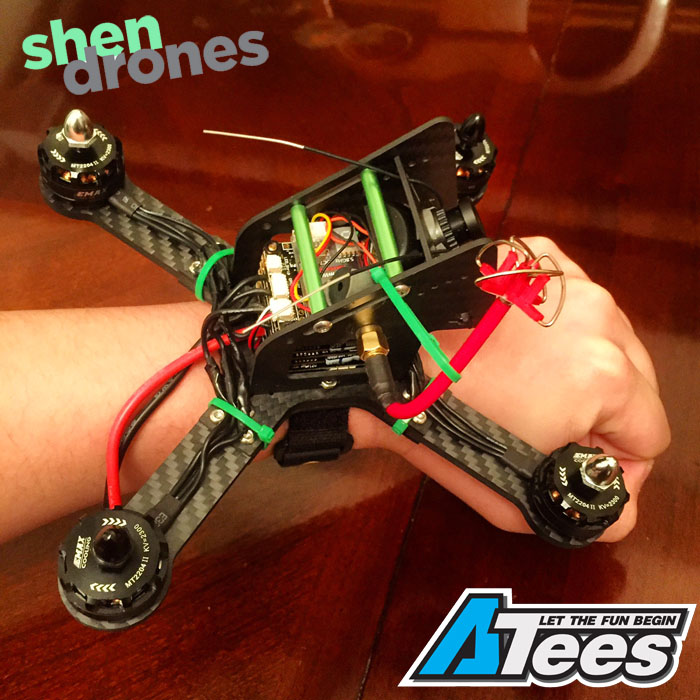
And here's a picture of me wearing the Krieger as a watch.
If you liked this sort of blog, let us know! Email us your ideas at editorial@asiatees.com. Watch the video below to see our crash test.
ByChris Chu
Tags :Shendrones, Krieger, Shendrones Krieger, quadcopter, multirotor, multicopter, FPV Racing
Share:http://asiate.es/read?l=72W2_1SYAB4